
Welcome Back!
While cleaning out my craft items, I went though my stamps and dies, which I sorted and organized. Jennifer (once again) shared with me how she organized hers and I absolutely loved how the fianl “product” turned out.
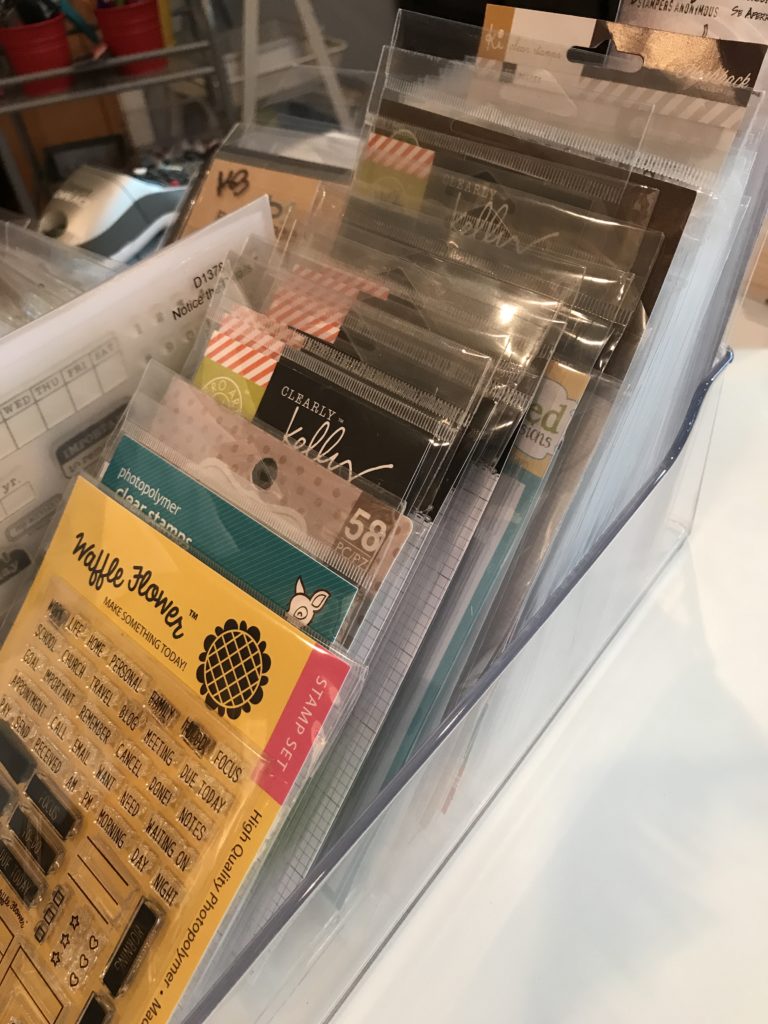
This is how “some” of my stamps were stored before organizing. A big unorganized mess. I didn’t use them very often due to not knowing what I really had.
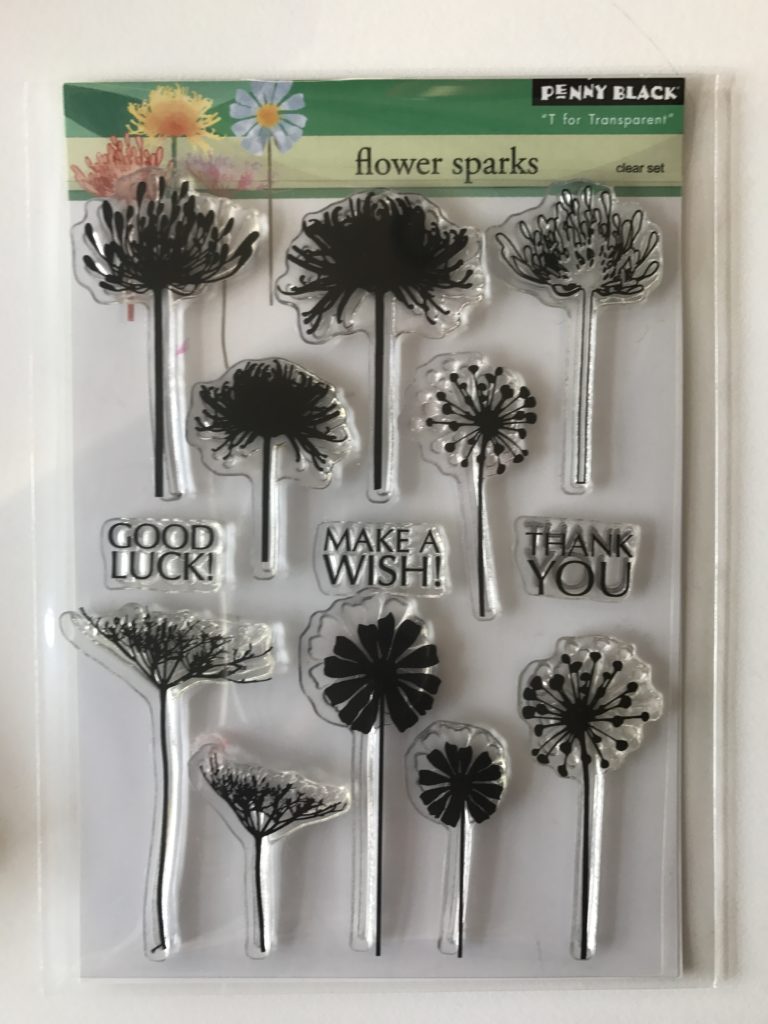
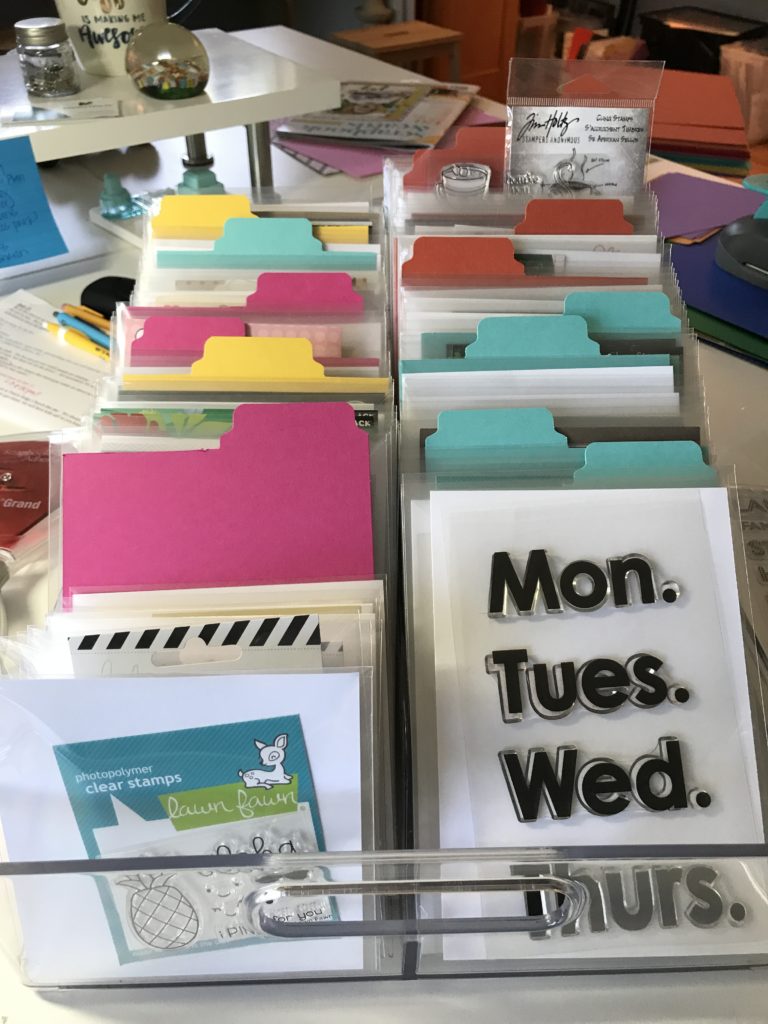
I started with taking each stamp out of it’s original packaging and placing it inside an Avery Elle Clear Storage Pocket.

At times I had to trim the original backing to fit in the pocket.
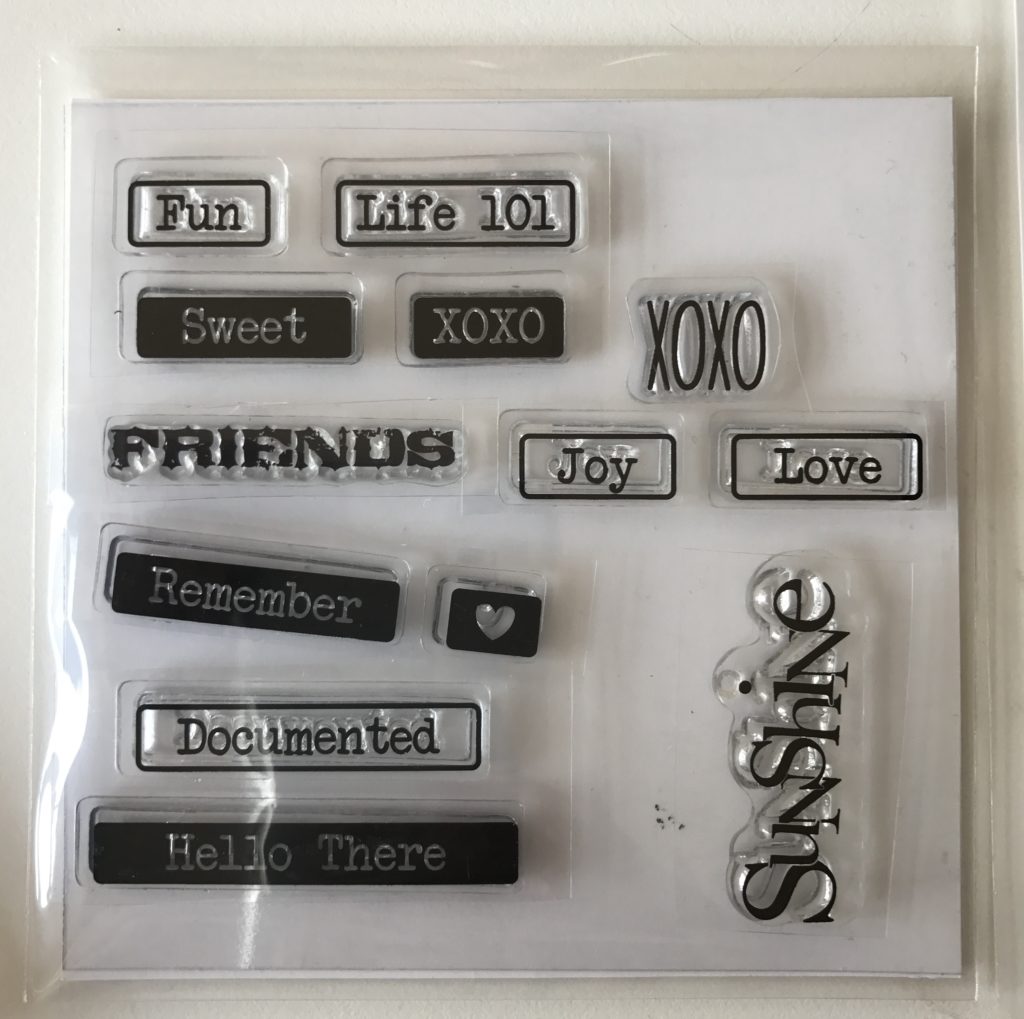
The stamps that did not have a white backing, I cut a piece of white cardstock to fit the envelope and then added the stamp set. 
I had some stamps that were single, random words or shapes. With those, I cut a piece of acetate and placed the stamps on that sheet. I then used a smaller Avery Elle pocket, cut cardstock to fit the pocket and placed the stamps in the envelope.
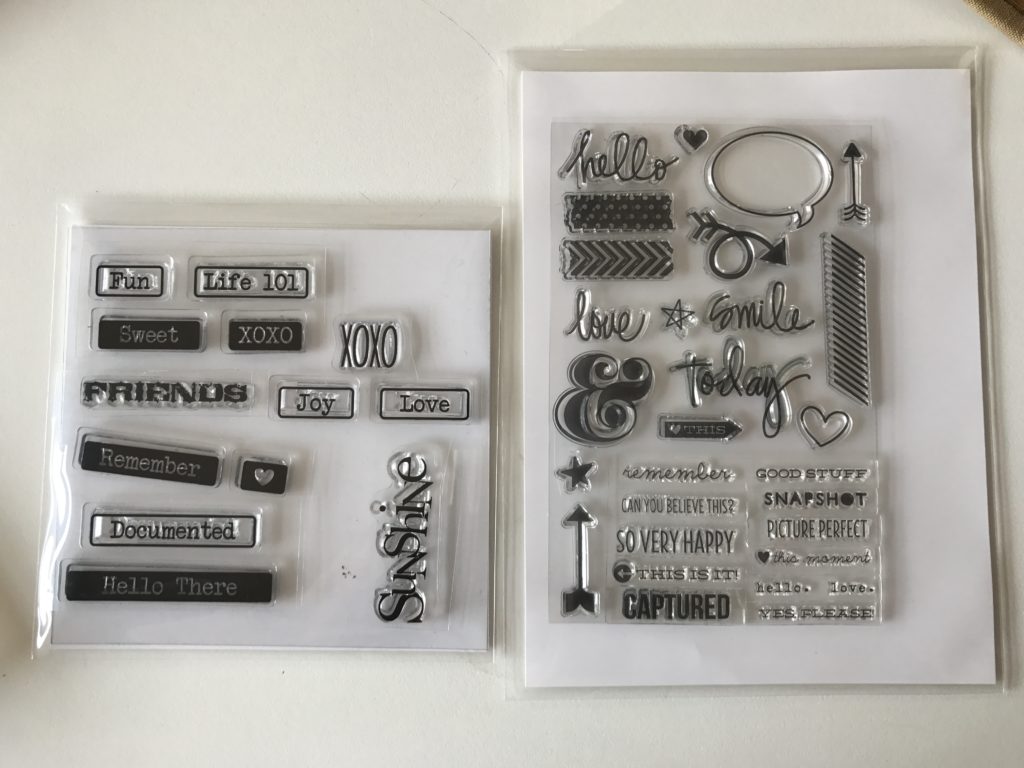
You can see the large pocket compared to the smaller pockets.
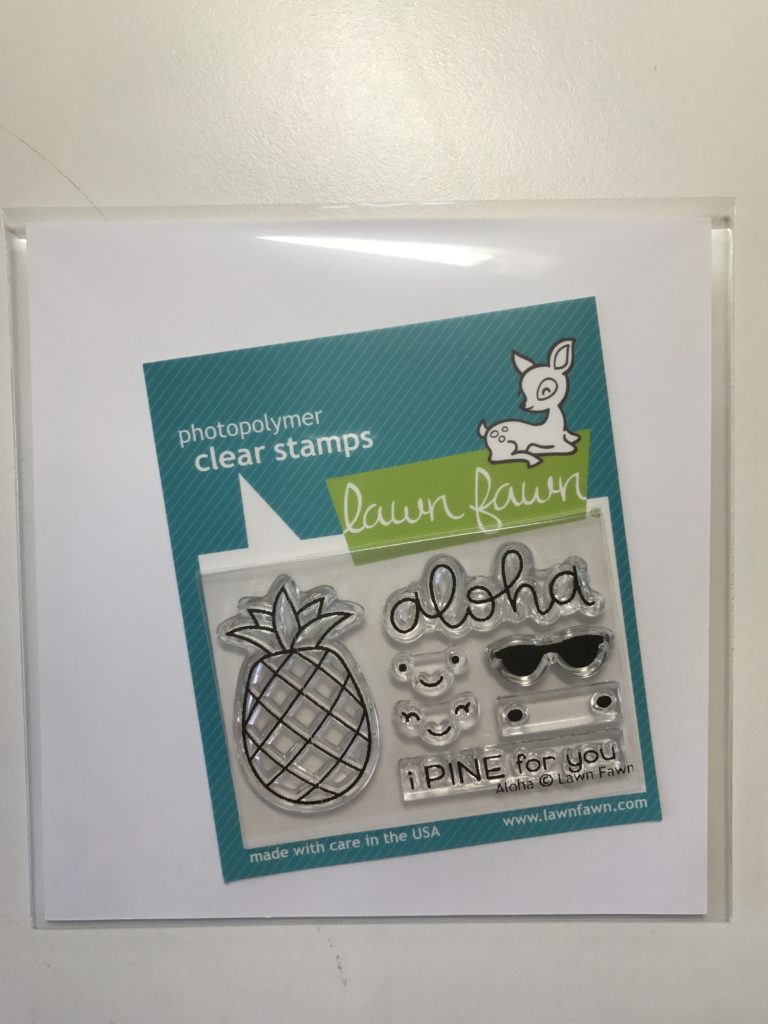
Some of my stamp sets have matching dies. I first cut a piece of cardstock to fit the pocket. I then placed the stamp set on one side of the cardstock.
Then on the other side of the cardstock I placed the matching die set! What an Ah Ha moment for me and also DUH!!!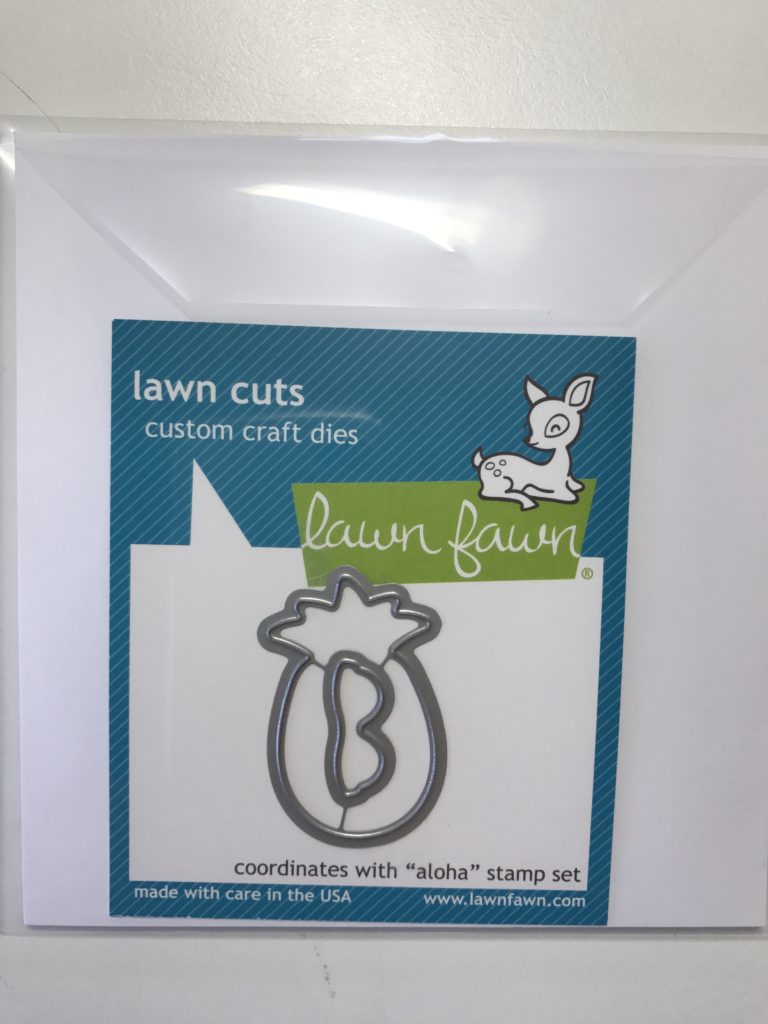
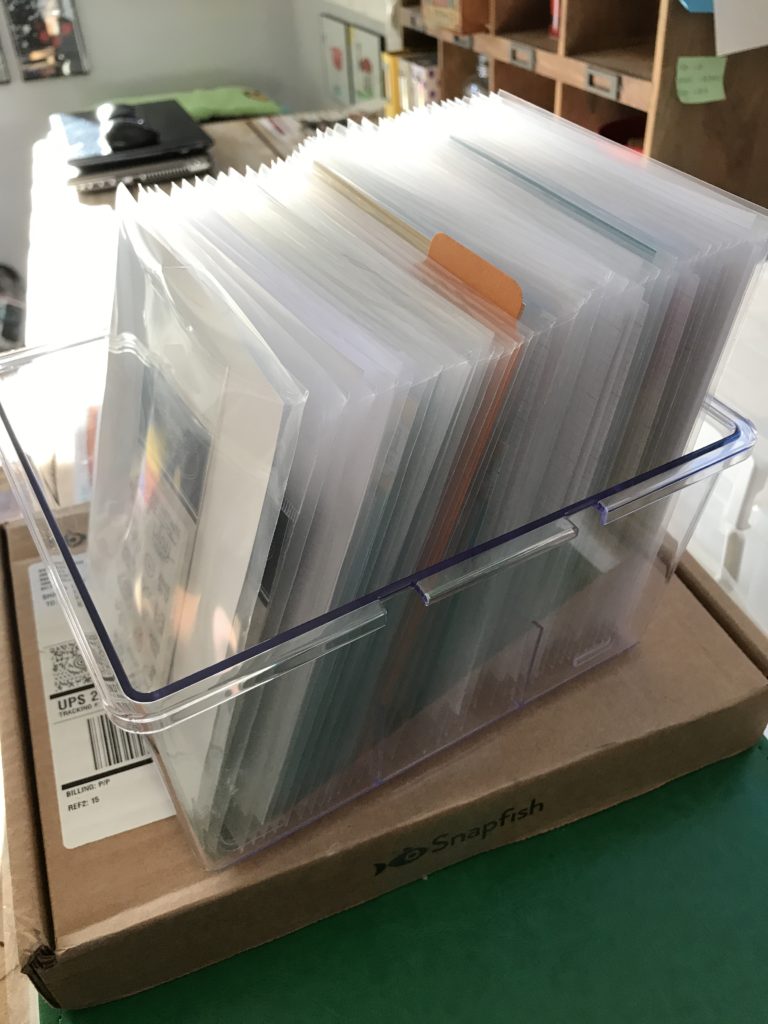
Here are all my stamps organized! I now have them placed in a refrigerator bin that fits stamps perfectly! I purchased the bin at target. Now, I just need to label my dividers (which I also made.)
My “thing” as Jennifer referred to it, is planners and planning stamps. So, I organized my planner stamps separately from my “other” stamps. Here are my planner stamps. Love how they all look the same!
I knew I would need dividers for these stamps, so I used my Tab Punch from WeR Memory Keepers to create these tabbed dividers from cardstock.
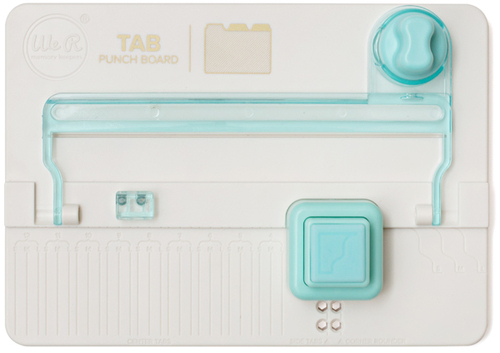
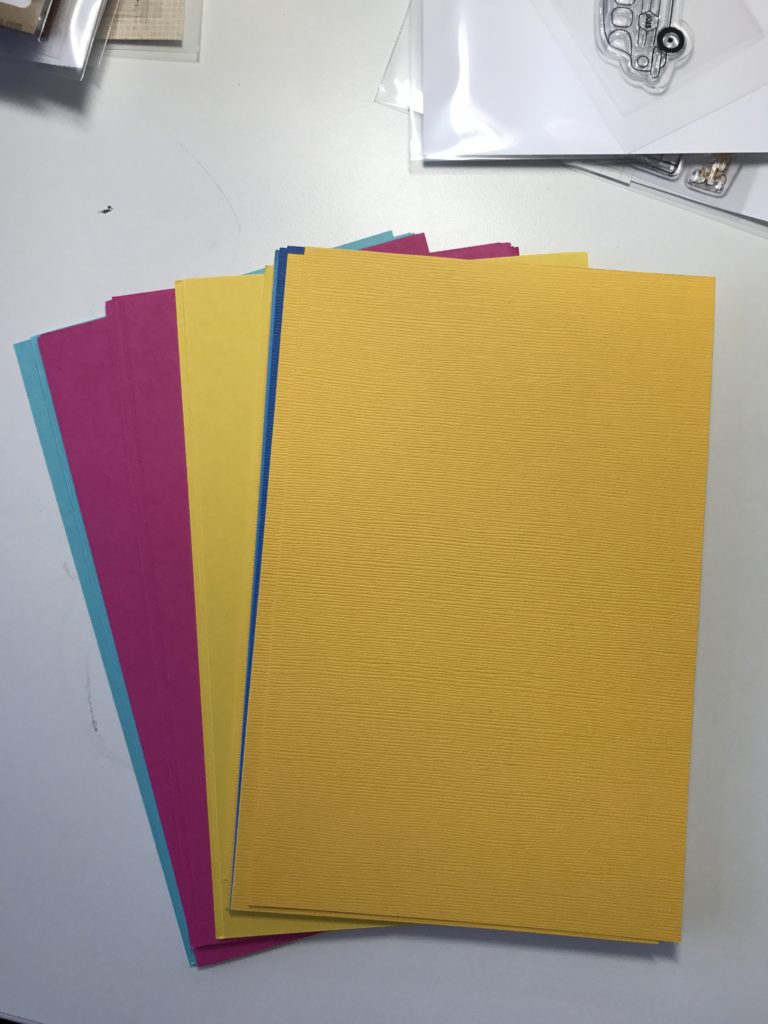
I first cut my cardstock to fit the container and for a tab to peek above all the stamps sets.
I then used my tab punch. It was SO easy!!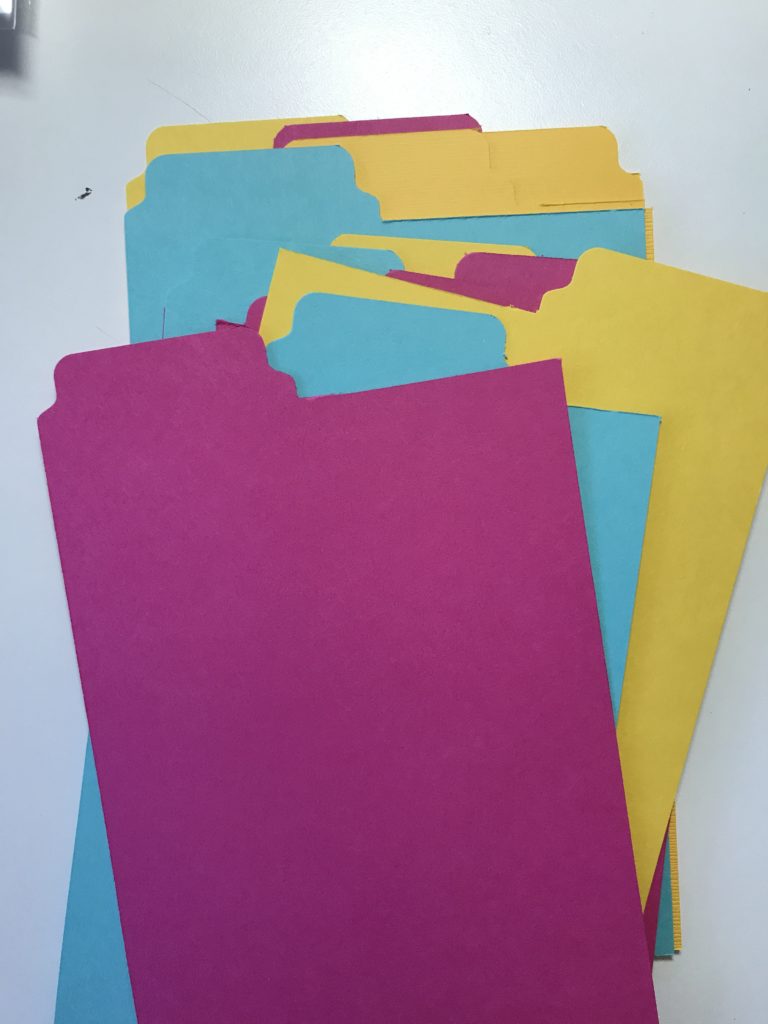
Look how organized they look! Be still my heart!
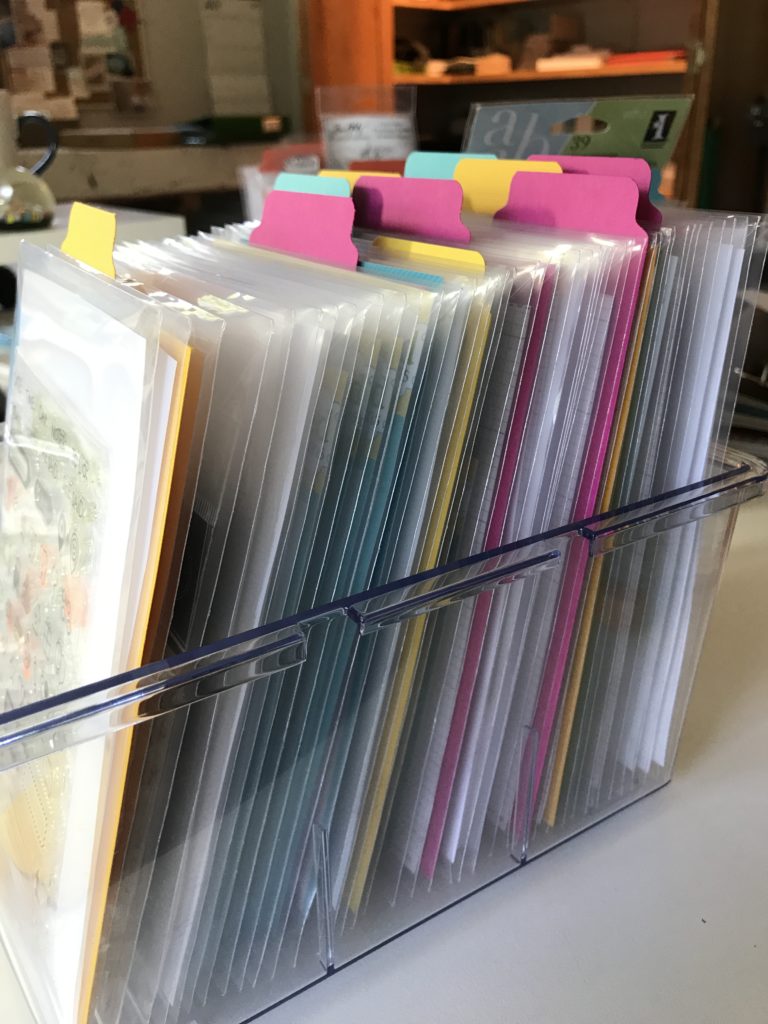
And a look from the front. Just need to add the labels!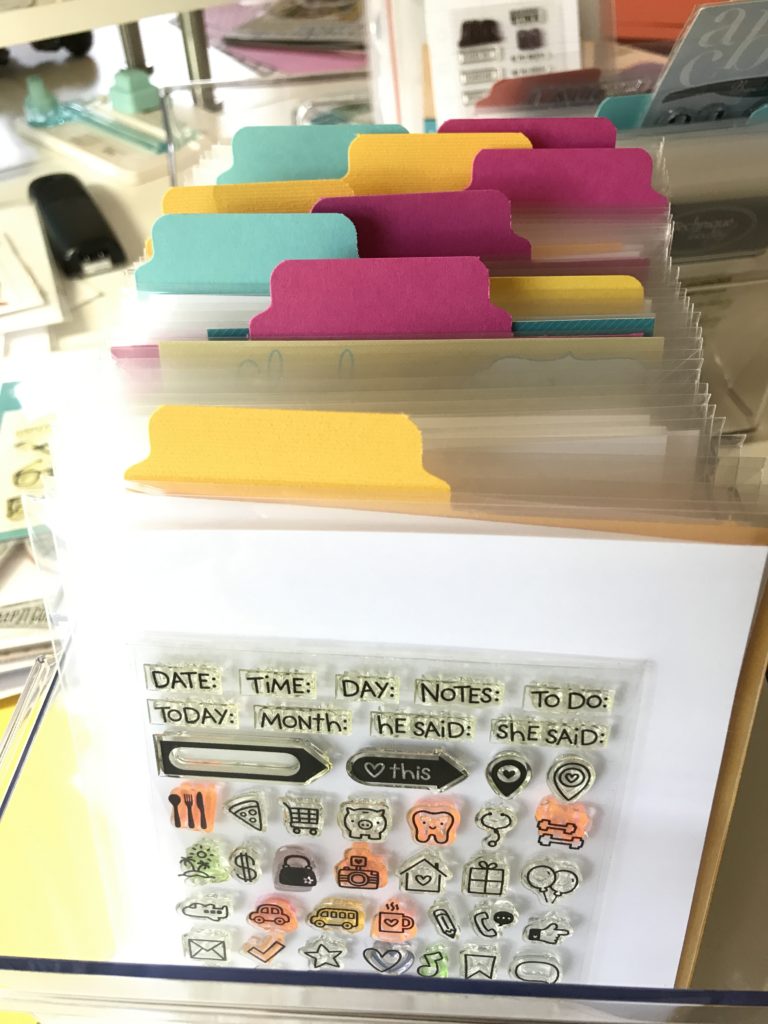
One last organization task: my dies. These were a little more involved, but well worth a little extra effort! Check back tomorrow to see how I organized my dies in the same manner, but using magnetic sheets.
Looks so good and much easier to find what you want
I love your system! I use the same pockets for my stamps but not yet for my dies. Love your tabs!!